Monday, April 16, 2012

Foxy Copy

Thanks to the wonderful world of Pinterest, I ran across this adorable little fox dress a few months ago and decided Evan needed one for herself.

Using a vintage pattern for a mouse jumper and a few modifications, I came up with this.  It's a little big, but I'm sure it will fit better by the fall when she'll have more opportunity to wear it.

Monday, January 23, 2012

Easy Snow White Dress

I knew my little girl has a thing for Snow White, but I didn't fully realize just how much of a hold Snow White has on Evan until she started potty training last week.  Evan will often tell me "I'm so happy I'm a princes," and sometimes even, "I'm so happy I'm Snow White," so when I was looking for extra potty encouragement, I said to my sweet girl, "Snow White pee-pees in the potty."  Had I only known the power those 6 little words had, I would have used it before, many, many times before. 

Snow White doesn't throw fits.
Snow White eats her veggies.
Snow White sleeps through the night.
Snow White shares her cupcakes.

Ah, the possibilities.

With that one sentence, Evan was potty trained.  Really, like in a few days.  Don't hate me for bragging.  So to reward her hard work, I had to make her her own Snow White dress to wear whenever she wanted.


This dress is super simple and easy.  I used Simplicity pattern 5695, view E. 

 I had to adjust my sleeves, but I mostly followed the puff sleeved tutorial from here: http://www.craftinessisnotoptional.com/2010/11/snow-white-sleeves-tutorial.html
These sleeves are shaped slightly different and call for elastic at the top and bottom, so I just made the pleats as shown in the above tutorial and then sewed on a small fabric tube at the top and bottom of the sleeves for the elastic casing.   And there you have Snow White!

Wednesday, December 7, 2011

Happy Halloween! A little late :(

When one child asks to be a washing machine for Halloween and the other wants to be an owl, you don't have much choice but to make the costumes.  Here's what I came up with. 


He is smiling on the inside, trust me.

Christmas Crafting

Yep, I'm posting something again.  Woo-hoo! Let's not get carried away now!


Here's a round up of some stuff I've done so far for Christmas.  This is mostly for me b/c I want to make myself a cute little visual board on pinterest of all my projects, but feel free to ask about anything if you want to make your own.

 Pillow covers using felt ornaments from the Dollar Tree + Painter's drop cloth = Christmas WIN!  I love these.


 Cute little ornaments with the kids' Christmas wish lists.  They did the dictating, I did the writing.  Copied from here: http://www.flickr.com/photos/58594736@N04/5373583623/


 A felt wrapped wreath. Pinterest inspired from here: http://urbancomfort.typepad.com/urban_nest/2010/11/the-ones-that-got-away-felt-holly.html
Her's looks better, but whatevs.
My advent calender.  You can find these all over the internet, and mine was inspired by at least half a dozen.

Monday, February 21, 2011

A Summer Dress: Matryoshka Style

It may only be Febuary, but it's never to early to start thinking Summer in Texas.  I made Evie this dress over the weekend after eyeing this tutorial, Apron Top, for a while now.  I wanted a dress for my girl and an open back, so I made some adjustments to the original design to suite my needs.  I'm really happy with how it turned out.  So incredibly cute and nice for those hot summer days ahead, and this fabric is probably my most favorite ever.


I know my photography skills are just amazing, right?  Please forgive the poor lighting. I can only get her to sit still for a picture if I bribe her with "Word World," thus the blank stare on her face.

Aaaand, I'm back.


After a long, long hiatus, I'm back to post some new things the kids and I have been working on.

First off: Valentine's Day gifts.

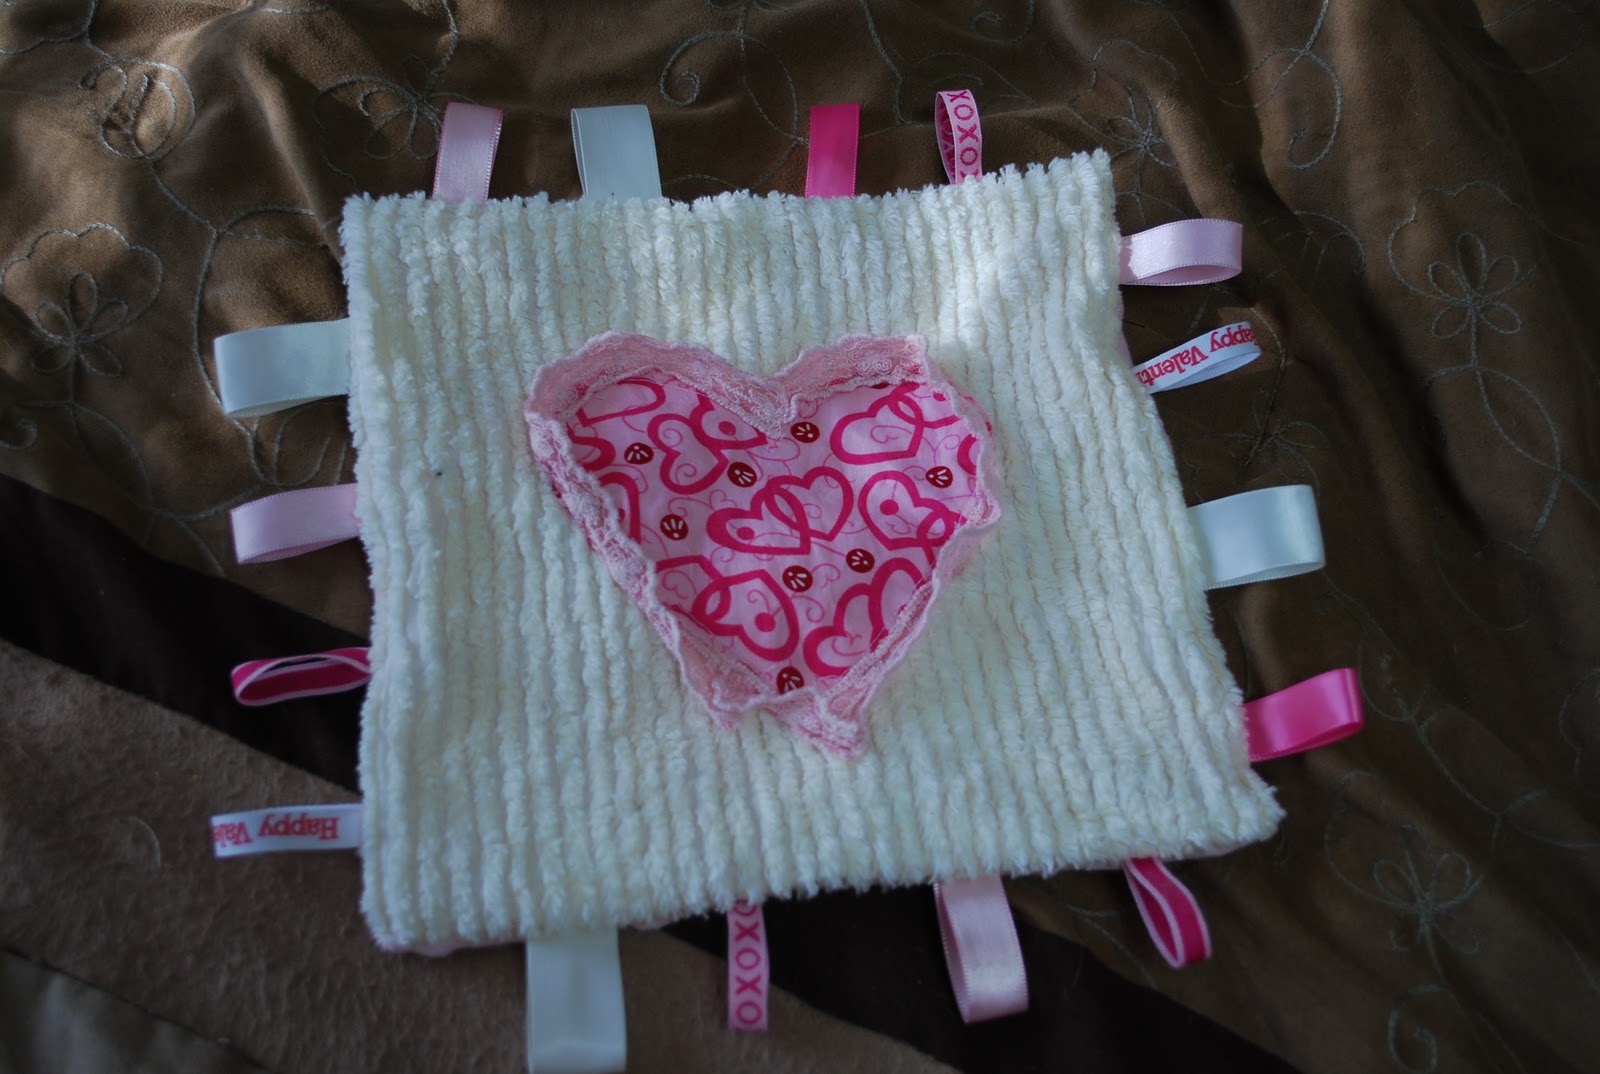
For V day, I made my sweetness this quick and easy heart lovie.  I loved the lace around the heart. Reminds me so much of old-fashioned valentines.


And my big boy got this felt play mat.  I made my mat using this great tutorial: Our Journey: Travel Felt Play Mat and then decided to make my own style of play characters. 

 Ian says his best friend is the alien from Toy Story.  He's even named "Friend," so I had to have those characters.  I searched for farm and Toy Story imagines online and then printed them on to Print 'n Press Transfer Sheets, ironed them on to white felt, and there you have it.


As it turns out, Evan is obsessed with the farm animals, and Ian has been sleeping with her new lovey.

Monday, June 7, 2010

Taggie, Crinkly Bibs Tutorial

If you're like me and have a Drooly Julie (or Jack, whatev) on your hands, you are probably constantly switching bibs or else having a soaked baby.  Evan drools without abandon, but I got tired of those old stained bibs, so I decided to make her some, pretty ones.  Knowing how much she loves all things crinkly and the taggie blanket I made her, I decided to through that in to the bibs as well.  It's like 3 baby accessories in 1.  Here's how to do it for yourself.

First off, I printed this template from one of my very favorite bloggers at Homemade by Jill.  You can get it HERE .  Or, you can simply lay one of your own bibs flat and trace around it.  After printing Jill's template, I cut off about 2.5" from the bottom to make the bib shorter because I want to be able to show off Evan's cute clothes.  Since this bib is more for drooling than food, I don't need the extra length.

SUPPLIES:
Flannel fabric for bib front
Coordinating fabric for bib back
Snaps like THIS or you can use Velcro
Assorted ribbon
Empty wipes package

1. Cut 1 bib from your front fabric and 1 from your back using your bib template.


2. Cut 4 pieces of of ribbon.  I cut my 4" long, but they could have been shorter. 


3. Fold your ribbon pieces in half, and pin them to the right side your bib front, with the folds facing up.


4. Cut open your plastic wipes package and lay it across the bottom half of one of your bib pieces.  Cut a piece of the plastic to fit the bottom and pin it to the wrong side of your other bib back.


5. Layer your bib pieces this way: Bib front right side facing up, Bib back wrong side facing up.  Your two right sides should be facing each other.  Pin them together along the sides.


6.  Sew along the entire outside, leaving a gap for turning.

7. Turn your bib and close your gap with topstitching all the way around.

8.  Attach your snaps according to the package instructions or put on velcro.

And there you have it. 


I've made a few more because Evan really really loves chewing on these things.  I even make a dressy bib using flannel and chenille with a jersey knit rose.


Labels

Search This Blog